Sunday, September 25, 2011

...You need what for this show?

On occasion, we enter a prop project knowing it will likely require more than one take. This spring, UF's production of The Grapes of Wrath required a life-size dummy. (I'm trying not to spoil the storyline.)


The shop began with Dummy 1.0. Ann and I tagged teamed this one. We knew the actors would discover the requirements of this prop as they started rehearsing with it. So we found an empty suit in the shop. (No worries, we have more around. I would recommend checking with the TD before you take safety equipment!) We stuffed the suit with styrofoam and rubber mulch. And a bit of tape for shaping.


We 'dressed' the dummy with some clothes from the prop room. 
(Though Twinkie pants are not period, Twinkies were a hit in the Great Depression.)

And so Dummy 1.0 was released to rehearsal. The first realization: the dummy needed to be unloaded from the back of the family truck. There were already 7 people in the back for this scene, so our dummy was going to need to sit and blend in. 

I started Dummy 2.0 Know he needed to be a bit closer to a real boy. I channeled my inner Gepetto.


Dummy 2.0 had hinges joints at the knees and hips. He could sit and be carried comfortably.


The wooden form was covered in fabric from packing blankets. Shoes were also attached. The dummy was wrapped in a quilt for the show, but we had to keep the Twinkie pants.

Dummy 2.0 was not kept after the production. He was scaring people as they walked into prop storage.

Sunday, September 18, 2011

Stumped

Once upon a time, Frog and Toad lived at The Green Room Theatre. And I decided they each deserved a chair with a bit of style. So I made a set of tree seats.

1. Modify an existing chair by adding a wood-framed base. Attach chicken wire.


2. Dip muslin in diluted carpenter's glue. The bark texture was created by wringing out the fabric and stapling before smoothing out the crinkles. (The smooth edge on top was achieved by stapling on the back side, then folding the piece over.) Thinner strips were used for the back of the chair.

3. Paint chair, accenting the highlights and shadows with different shades.

4. Find a 6'3" Frog. Toad will probably follow shortly.


Enjoy!


Sunday, September 11, 2011

There Will Be (Stage) Blood

Sometimes we like to pretend people on stage are bleeding. Here's a few ideas to get your creativity flowing.

The biggest advice I can offer for stage blood: START NOW. No, really. There's a lot to consider. How much, what type, what costumes/scenic elements/props are involved, what sort of delivery system will be used, how will the actors react to exposure, what the blood will look like under the lights, etc. Don't wait until tech weekend.

For a small amount that doesn't need to be live (like a cut finger in The Clean House) I use a thick application of nail polish on a white rag.

My first experiences with stage blood/makeup came when I assisted with drunk driving reenactments. Those actors were asked to wear old clothes, took their positions in the mangled cars (prosthetic wounds in place), and were promptly drenched in 5 gallons worth of corn syrup and food coloring. Yes, really.

But that's a one-time performance. When you need costumes to be pristine for the next performance, you want a washable recipe.

If you have a healthy budget, Reel Blood is a fantastic option. But it's pricey.

While working on In The Blood I used ERA detergent and Wilton Icing Coloring. (ERA is a bit more difficult to find, but far less abrasive than Tide. The actors will be grateful!) The sample batch was tested on the fabric and washed out well. (I worked on a production of Sweeney Todd that used grapefruit dish soap for the base. Creme de Coco used chocolate syrup. Whatever you choose coordinate with costumes and lights.)

We went through half a dozen delivery methods for the blood packs on that show. My favorite (though not used) was filling small zip-lock bags, chilling the mix, then using a Seal-A-Meal to create a clean seam. The packs broke under hand pressure but not in the actor's pockets prior.


No one gave a second glance to my project in the freezer.

In summary, time and communication are the essentials of this project. Have fun!

Sunday, September 4, 2011

I feel like Dirt

The blog is back! And I feel awful about the long break between posts. Like dirt, actually. So what better project to kick-start the adventures with than fake dirt?

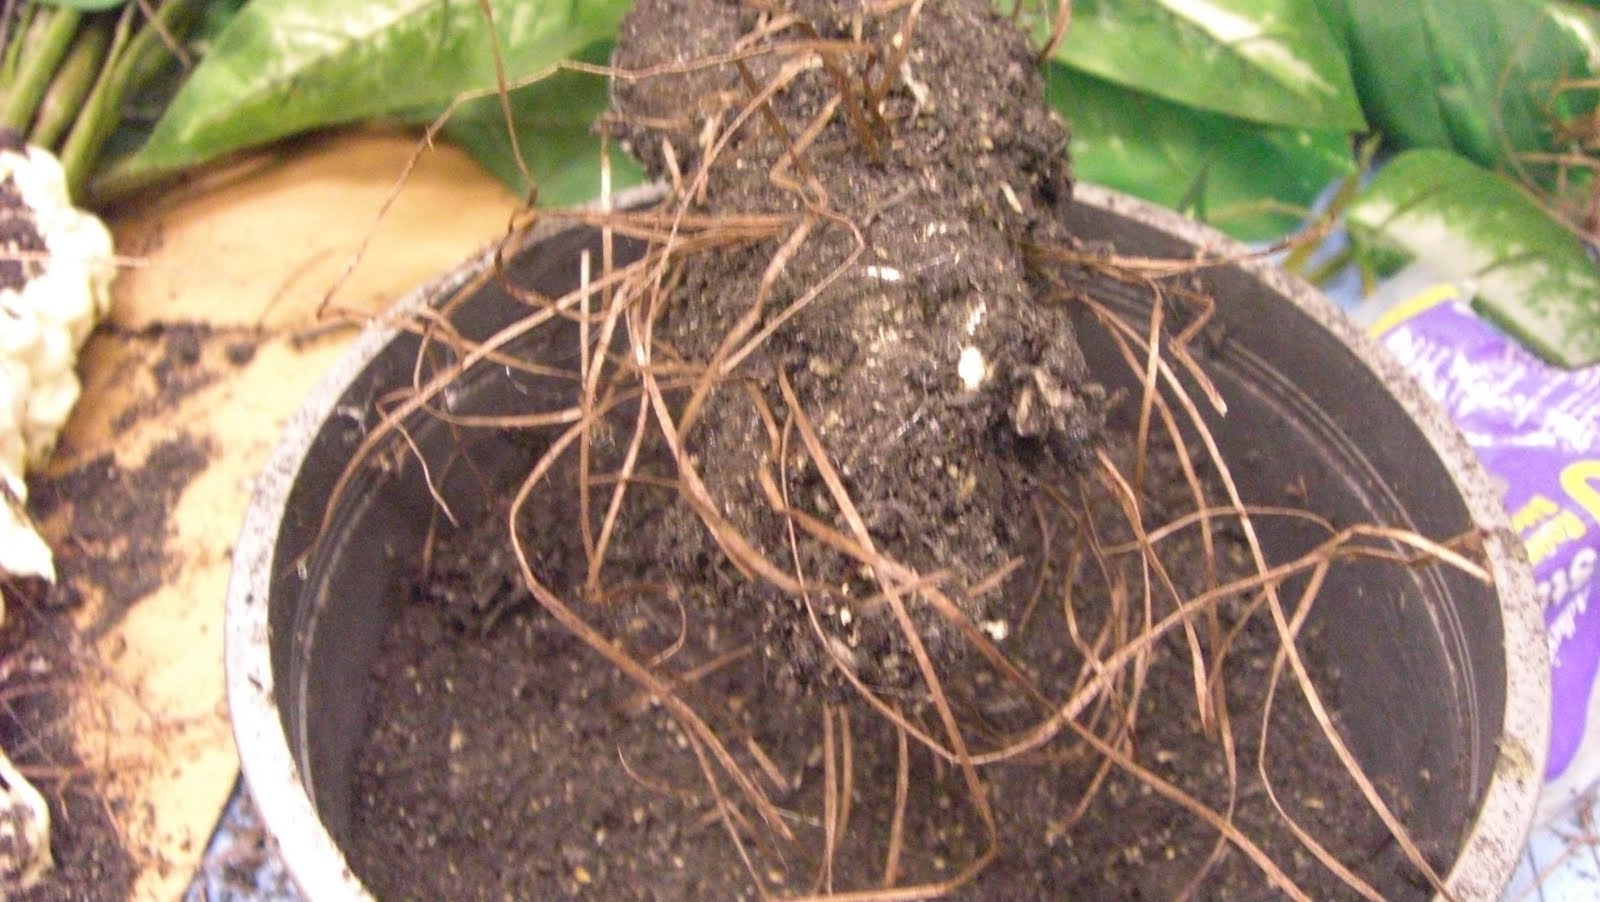
To accommodate the fake dirt needs of The Clean House I harvested clean sawdust. Roughly a 5-gallon bucket of it. (Clean sawdust! Sweeping the floor for collection could have resulted in staples/brads in the finished project.) Umber paint was gradually added until the consistency was chunky but saturated. The mix was thinly spread on paper on the loading dock and flipped occasionally until the 'dirt' was completely dry.

I discovered all the materials I needed for the project in the prop room.


1. Coat the base of the plants with Great Stuff. Allow foam to dry.


2. Glue the 'dirt' and 'roots' to the foam. I used hot glue because the plants were going to be taking a nightly beating.


3.  I lightly sprayed the roots with Super 77 (A 3M spray ), then dusted the entire surface with dirt.


4. Hurl the plants across the stage! Feel better about life.

Well, that's all for this week. Look for another update Sunday night!

Tuesday, May 10, 2011

Paint for Elephants

Pulling another project from the archives for this post. It's downtime for prop projects at the moment.

So with the recent release of Water for Elephants -a film I would have loved to work on- and the upcoming reopening of Spiderman:  Turn off the Dark, reworked by Phil McKinley -a director I loved working with- here's 'Paint for Elephants'. Or, 'How Metallic Paint is Awesome'.

While working on Creme de Coco I faced the oh-so-common problem of needing set dressing that would appear high-end and period, but working on a small budget. Metallic paint helped give a uniform appearance to the objects and mask imperfections.

Step one: Hunt for the object. Clean everything.
By the way - know how the objects are being used. I wouldn't advise spray painting silverware people will be eating from.


Step Two: Paint!
This may also require a layer of Gesso. I like the Bob Ross brand (available at Michael's).


Step Three: Age/Distress
The addition of a thinned black wash layer added character to many of the objects. Design Master's Glossy Wood Tone is also fabulous for a warm glow.


But don't paint the elephant's tusks!
An elephant also found its way onto the set. Originally this little fella was red. Phil also directed for Barnum and Bailey - and I was informed it's very bad luck to re-paint the tusks on an elephant. So the tusks were carefully taped off.


Fabric paint can also do wonders!
The sofa for this show was rescued from a DAV. The pattern on the couch was originally brown/green. Obviously, follow the instructions and consult the costume designer prior to painting.

Before

After

Next post - blood packs!

Sunday, April 24, 2011

Shock Me Like an Electric Chair

Greetings!

I'm not sure an electric chair is the most appropriate post for this holiday...but what holiday would be?

Today I'm digging into the archives and sharing the electric chair I created for the 2008 production of Assassins at The Green Room Theatre. If you're not familiar with the show, it's a Sondheim musical that opens with a murderous carnival game played by the men and women who have attempted (and/or succeed) in assassinating a US President. So we weren't going for realism.

I believe I spent $27 on the entire scenic design for the show and remember spending exactly $2 on this chair.


Step one: Find a free chair. This chair was a school desk in a previous life. I added arm rests and extended the head rest. (The actor using the chair was 6'7".)


Step two: Find the cheapest buckles possible. I purchased two belts from the local DAV, then sanded leather and painted the metal to match.


Step three: Paint the chair. This was by far the worst smelling black paint I have ever used. It was undated and in the back corner of the basement. My nose is crinkling as I type.


Admittedly the chair looked a bit funky in the daylight. But it never appeared onstage without the actor, and the lighting was dark. So for 2 hours work and 2 dollars I was pretty happy.


Designing for The Green Room was a fabulous experience. I learned the realities of tight timeframes and minimal budgets that summer. Most of all, I realized that scenic design was my favorite area of the production process.

Happy Hunting.

Sunday, April 17, 2011

Hand Castings

Apologies - between helping with a few shows and working on the design for Chicago, the last two weekends have flown by. But this week's post covers an awesome project!

To create the unique furniture pieces for this semester's production of Madwoman, the shop assembled furniture using mannequin body parts. But we soon discovered the mannequin hands are pretty uniform and uninspired. So we decided to cast hands.


Clockwise around the table - Ryan and Emma shave wax, Molly serves as our hand model, and Tim uses an air hose to remove the hand.

First, we attempted to cast  a hand using layers of wax, then fill the negative with plaster. Several problems: (1) We lacked the ability to consistently keep the wax above the melting point but below the 'Oh God that's hot!' temperature range. (2) The castings were reinforced with steel rods but still proved fragile.


 I don't have any photos of the 2nd method attempted. I was the hand model and needed to sit very still. Tony B formed a red clay reservoir around my hand, then created two plaster shells. The negative was filled with wax. This technique had some promise, but the negative cracked when Tony attempted to pry out the fingers.


Wayne donated his hand to the cause.

(Triumphant fanfare) And then we discovered Alginate molding! The powder is readily available online and easy to work with. Simply mix with water and begin casting.


Not a cake.

 The moldings were kept in the container for casting, but this gives you a sense of the consistency. 5 out of 6 shop employees agree it smells like baby aspirin.


We filled the negatives with fiberglass resin and were amazed at the level of detail in the castings. (You could see the scars on our hands!)


After the fiberglass cooled (it's an endothermic reaction) the pieces could be attached to other mannequin parts using fiberglass cloth and resin.


Once painted the details were highly visible.

Happy Casting!